React Native has changed how businesses build cross-platform mobile apps by improving development speed and enabling innovative solutions. In order to land a role in this competitive space, front end developers should be well-prepared with common React interview questions. These questions can be about styling, navigation, performance optimization, or more advanced topics like state management and debugging. As a front-end developer, you should show your expertise in solving technical challenges and making architectural decisions.
At Aloa, we specialize in streamlining software development through robust project management frameworks and access to a highly vetted network of developers. Whether it's crafting cross-platform apps or tackling intricate React developer interview questions, Aloa equips you with the expertise and resources needed to thrive. Our solutions help you gain clear insights, adopt advanced technologies, and access consistent support to ensure your projects are both scalable and high-quality.
Drawing on the latest industry trends and real-world examples, we’ve compiled 17 must-know React Native questions to help you confidently navigate your next interview in 2025.
Let’s dive in!
React Native Basics
React Native is a JavaScript framework for creating mobile applications. It supports efficient cross-platform development with a shared codebase for iOS and Android, offering scalability and seamless performance. A deep understanding of what makes React Native so versatile and efficient can help developers tackle React Native interview questions effectively.
What is React Native, and how does it differ from React?
React Native builds on the foundation of React, extending its functionality to create native mobile apps. While React focuses on building web applications using the Document Object Model (DOM), React Native on the other hand enables developers to create mobile applications by using native components instead of web elements.
Main differences between React and React Native
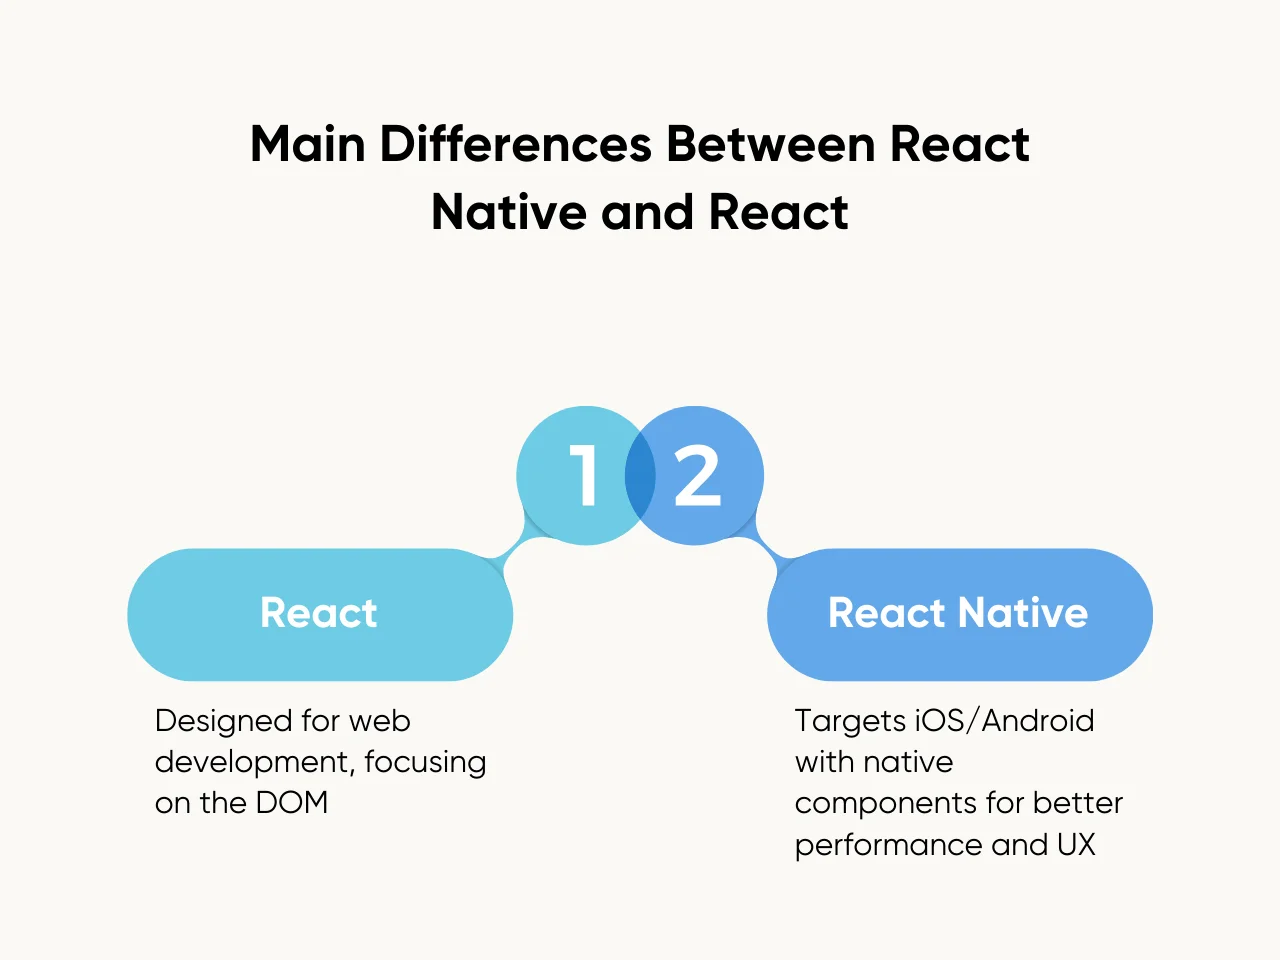
- React: Designed for web development, focusing on the DOM.
- React Native: Focuses on native mobile platforms like iOS and Android, using native components to enhance performance and user experience.
For example, React Native maps components like <Text> and <View> directly to native UI elements on iOS and Android platforms. Unlike web elements such as <div> and <p> these components interact with the native rendering APIs of each platform, resulting in performance and visual consistency that provide a seamless user experience across platforms.
What are the advantages of using React Native for mobile app development?
React Native simplifies mobile app development by using a single codebase, making it easier to build scalable apps with smooth performance across platforms. These concepts are commonly discussed in React Native interviews.
- Code reusability across platforms: React Native enables developers to write a single codebase that runs on both iOS and Android, reducing development time and cost.
- Access to native APIs via libraries: The framework provides seamless integration with device-specific features such as camera, GPS, and push notifications through its robust library ecosystem.
- Large community support and rich ecosystem: An active developer community offers extensive resources, including tutorials and third-party libraries, making development faster and troubleshooting more efficient.
For example, building both Android and iOS apps using shared components saves time and resources, particularly for features like user authentication and navigation.
What are the limitations of React Native?
Despite its advantages, React Native comes with limitations that can affect its suitability for certain projects, a topic that often comes up in React frontend interview questions:
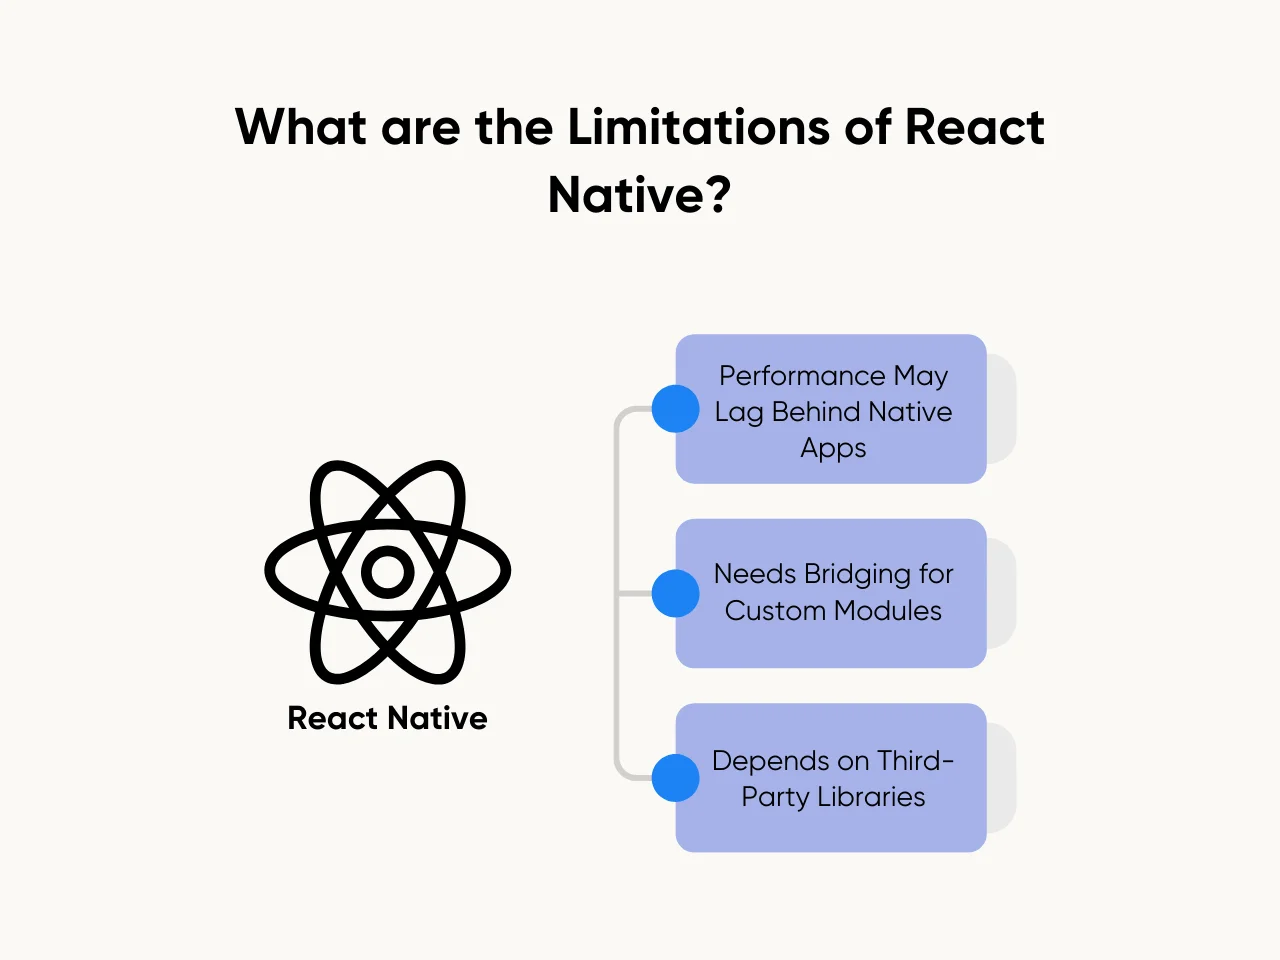
- Performance may lag behind fully native apps for complex tasks: Applications requiring high computational power or advanced graphics may not perform as efficiently as those developed natively.
- Requires bridging for custom native modules: Developers often need to create custom native modules for advanced functionalities, which requires knowledge of native development for Android and iOS.
- Dependency on third-party libraries: Relying on external libraries for certain features can introduce risks such as lack of updates, compatibility issues, or potential security vulnerabilities.
For example, high-performing custom animations might demand additional native code for optimal responsiveness and fluidity.
Core React Native Concepts
React Native introduces innovative concepts that bridge the gap between web and mobile app development, which is a common topic when facing React Native interview questions.
Understanding React Native’s styling approach and the role of the bridge is essential for mastering this framework.
- Virtual DOM for Performance Optimization: The virtual DOM is a lightweight representation of the actual DOM, and processes changes before applying them to the real DOM. Only DOM elements are updated, minimizing direct DOM manipulation and enhancing responsiveness in the user interface of a React app.
- Functional vs. Class Components: Functional components prioritize rendering output and offer simplicity, while class components provide lifecycle methods for managing side effects, such as data fetching or handling form submissions. The useEffect hook modernizes function components, enabling them to handle similar tasks flexibly.
- Controlled vs. Uncontrolled Components: A controlled component ties input values directly to the state, giving precise control over form behavior and validation. An uncontrolled component manages its own state using a ref, simplifying specific scenarios but requiring more manual DOM manipulation to retrieve values.
- Custom Hooks for Reusable Logic: A custom hook encapsulates reusable logic, such as managing authentication flows, fetching data, or handling complex states. This reflects a strong understanding of React and its core concepts, crucial for building scalable applications.
- State Management and Prop Drilling: Prop drilling, where props pass through multiple nested components, can complicate code and reduce maintainability. Tools like the Context API or Redux centralize React application state management, ensuring consistency across components and simplifying development.
- Efficient Form Management: Managing forms with controlled components or uncontrolled components highlights React Native’s ability to handle form submissions. The new virtual DOM further enhances this by ensuring efficient updates and dynamic interactions.
These features empower developers to create efficient, cross-platform applications with native-like performance.
How does React Native handle styling?
Styling in React Native defines the visual presentation of components. While it takes inspiration from CSS, it modifies the syntax and structure to align with mobile app development. This approach keeps styles consistent and predictable across platforms, simplifying application management and scalability for developers.
- Styling in React Native: React Native uses the StyleSheet API or inline styles to define the look and feel of components. This approach allows developers to create structured, maintainable styles that are applied directly to each component.
- Differences from CSS: Unlike CSS used in web development, React Native’s styling system does not support cascading or inheritance. Every style must be explicitly defined, ensuring consistent application across components.
For example, Flexbox is heavily used in React Native for creating responsive layouts. It enables developers to align, position, and distribute components dynamically, making designs adaptable to various screen sizes and orientations.
What is the purpose of the React Native bridge?
The bridge (a JavaScript library) in React Native is a mechanism that facilitates communication between JavaScript and native code. It enables developers to integrate native functionalities into cross-platform applications while maintaining a single JavaScript codebase.
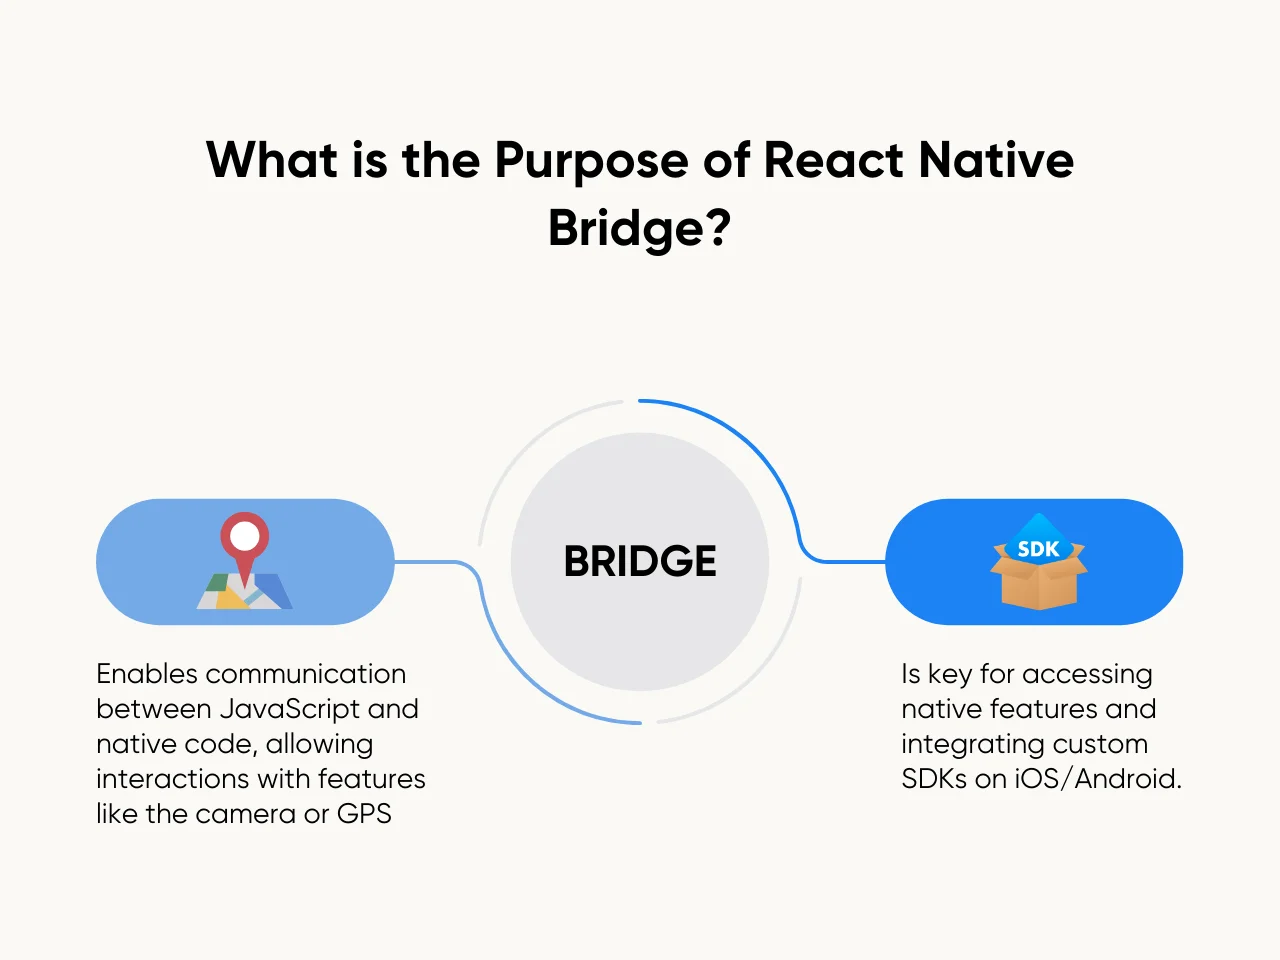
Knowledge of the bridge is often tested in React Native interview questions to assess a developer's understanding of the framework's core functionality:
- The React Native bridge connects JavaScript and native code: React Native applications execute JavaScript code on a separate thread from the native UI thread. The bridge transmits data and commands between these environments, enabling interactions with device-specific features like the camera or GPS.
- The bridge enables native functionalities: Without the bridge, React Native would lack the ability to use advanced native React features. For instance, accessing a native SDK or integrating a custom feature on iOS or Android heavily relies on the bridge.
Developers use JavaScript XML (JSX) to define UI components in a syntax resembling an HTML element, which the bridge translates into commands understood by the native layers of iOS and Android.
For example, integrating native SDKs such as Google Maps requires the bridge to establish smooth communication between JavaScript and platform-specific APIs. This ensures that React Native apps can handle native tasks while keeping most development efforts in JavaScript.
How do you optimize performance in React Native apps?
Optimizing performance in React Native apps is critical for ensuring a smooth and responsive user experience, especially when dealing with complex or large-scale applications.
Strategies for performance optimization include:
- Using FlatList for rendering large datasets: FlatList is designed to efficiently render lists with a large number of items by only loading the components visible within the viewport. This minimizes memory usage and ensures smooth scrolling.
- Avoiding inline functions in render methods: Inline functions in render can lead to unnecessary re-renders and degraded performance. Moving such functions outside of the render loop improves efficiency.
- Optimizing images with libraries like FastImage: React Native's FastImage library provides tools for caching, resizing, and optimizing image loading, which enhances the app’s responsiveness.
For example, improving scroll performance in a news app, a common scenario highlighted in React Native interview questions, can be achieved by using FlatList with pagination, ensuring that only a subset of the data is loaded and rendered at any given time.
React Native Navigation and State Management
Navigation and state management are core aspects of React Native development, enabling developers to create user-friendly applications that handle dynamic behaviors seamlessly. As it reflects the component's current condition and drives changes based on user interactions. Internal state management ensures responsiveness, such as updating the UI in response to a user typing into a form or pressing a button.
Beyond the internal state, managing the application state is critical for consistency across components. Leveraging tools like Redux, a predictable state container, helps maintain an updated state of the component while preventing conflicts in complex applications. These practices, combined with effective navigation strategies, form the backbone of efficient React Native development.
How do you implement navigation in React Native?
When implementing navigation in React Native we use specialized libraries that simplify the process of transitioning between screens and organize app structure.
React Native utilizes libraries like React Navigation and React Native Navigation for implementing navigation. React Navigation is known for its flexibility and ease of use, supporting navigators such as stack, tab, and drawer. React Native Navigation, on the other hand, offers a more native-like experience with deep platform integration.
For instance, setting up a stack navigator with nested navigators enables developers to manage multi-screen apps efficiently, allowing users to move between these screens seamlessly.
What state management options are available in React Native?
React Native provides tools like the Context API and Redux for state management. The Context API is best suited for managing simple states, such as toggling between light and dark themes. Redux is ideal for more complex, centralized state management needs, as it allows for predictable state updates across the app.
Using Redux, developers can manage user authentication states. This ensures that components such as the navigation bar and profile web page reflect the user's login status dynamically and consistently.
How do you pass data between components in React Native?
Data is passed between components in React Native using the following methods:

- Props for parent-to-child communication: Props allow data to flow in a single direction (unidirectional data flow) from a parent component to its child components. This method is straightforward and ideal for sharing static or dynamic data that the child component needs to render or use.
- Context API or state management libraries for global state: The Context API provides a way to share data across the component tree without explicitly passing props at every level. For more complex scenarios, state management libraries like Redux can be used to manage a centralized state that is accessible to multiple components.
For example, a user object can be passed as a prop from a parent component to a child component, such as a profile screen. Alternatively, if the user data needs to be accessed across various types of components, it can be stored in a global state using the Context API or Redux.
Advanced Topics in React Native
React Native supports advanced features that help developers build more robust and flexible applications. The key point among these is handling platform-specific code and leveraging lifecycle methods to manage app behavior and performance. We will show you just how you can manage to do so.
How do you handle platform-specific code in React Native?
React Native provides a simple solution for platform-specific code using file extensions. Developers can create files with .ios.js and .android.js extensions, which the framework will automatically select based on the platform. Additionally, the Platform module can be used to conditionally render components or apply styles based on the device.
For instance, you can customize button styles for iOS and Android without duplicating logic. Separating platform-specific components into respective files helps maintain a clean and modular codebase.
What are React Native’s lifecycle methods?
Lifecycle methods in React Native allow developers to control a component's behavior at different stages of its life. These methods are critical for tasks like data fetching and resource cleanup.
Lifecycle methods:
- componentDidMount initializes processes like API calls or setting up subscriptions after the component has been rendered.
- componentWillUnmount ensures that resources such as event listeners or timers are properly cleared, preventing memory leaks or unexpected behavior.
Using componentDidMount, developers can populate a component’s state with data fetched from an external source, ensuring that the UI is updated immediately upon rendering. Meanwhile, componentWillUnmount can clean up these operations when the component is removed, preserving app performance and stability.
How do you integrate third-party libraries or native modules in React Native?
Integrating third-party libraries or native modules in React Native is often discussed in React Native interview questions as it allows developers to extend an app’s functionality with pre-built solutions or custom native code.
Steps to integrate third-party libraries:
- Install via npm or yarn: Use a package manager to install the library. For instance, you can run npm install library-name or yarn add library-name to include the desired library in your project.
- Link native dependencies: If the library includes native code, use the react-native link command to link the dependencies automatically. For older React Native versions or specific cases, manual linking may be required by modifying the native project files.
- Use bridging for unsupported features: If the library lacks native functionality or you need platform-specific features, create custom native modules and bridge them with JavaScript. This requires familiarity with native development in Objective-C/Swift for iOS or Java/Kotlin for Android.
Native modules allow React Native apps to access platform-specific APIs. These modules can be created for tasks like handling push notifications or interacting with hardware-specific features. The bridge facilitates communication between JavaScript and native code, enabling seamless integration.
In a relevant situation, integrating Firebase for push notifications involves installing the Firebase library via npm or yarn, linking it to the project, and configuring the native platforms (iOS and Android) to handle notifications. Such a process showcases the need for precise setup and configuration to ensure smooth functionality.
Common Debugging and Testing Questions
Debugging and testing are key to building high-quality React Native applications. Topics like debugging strategies and testing tools are frequently highlighted in React Native interview questions to assess a developer's proficiency in ensuring application reliability.
Developers can identify and resolve issues efficiently while ensuring robust and error-free code by using specialized tools and following established practices.
What are some debugging techniques in React Native?
Debugging React Native apps involves leveraging specialized tools and strategies to identify and resolve issues effectively:
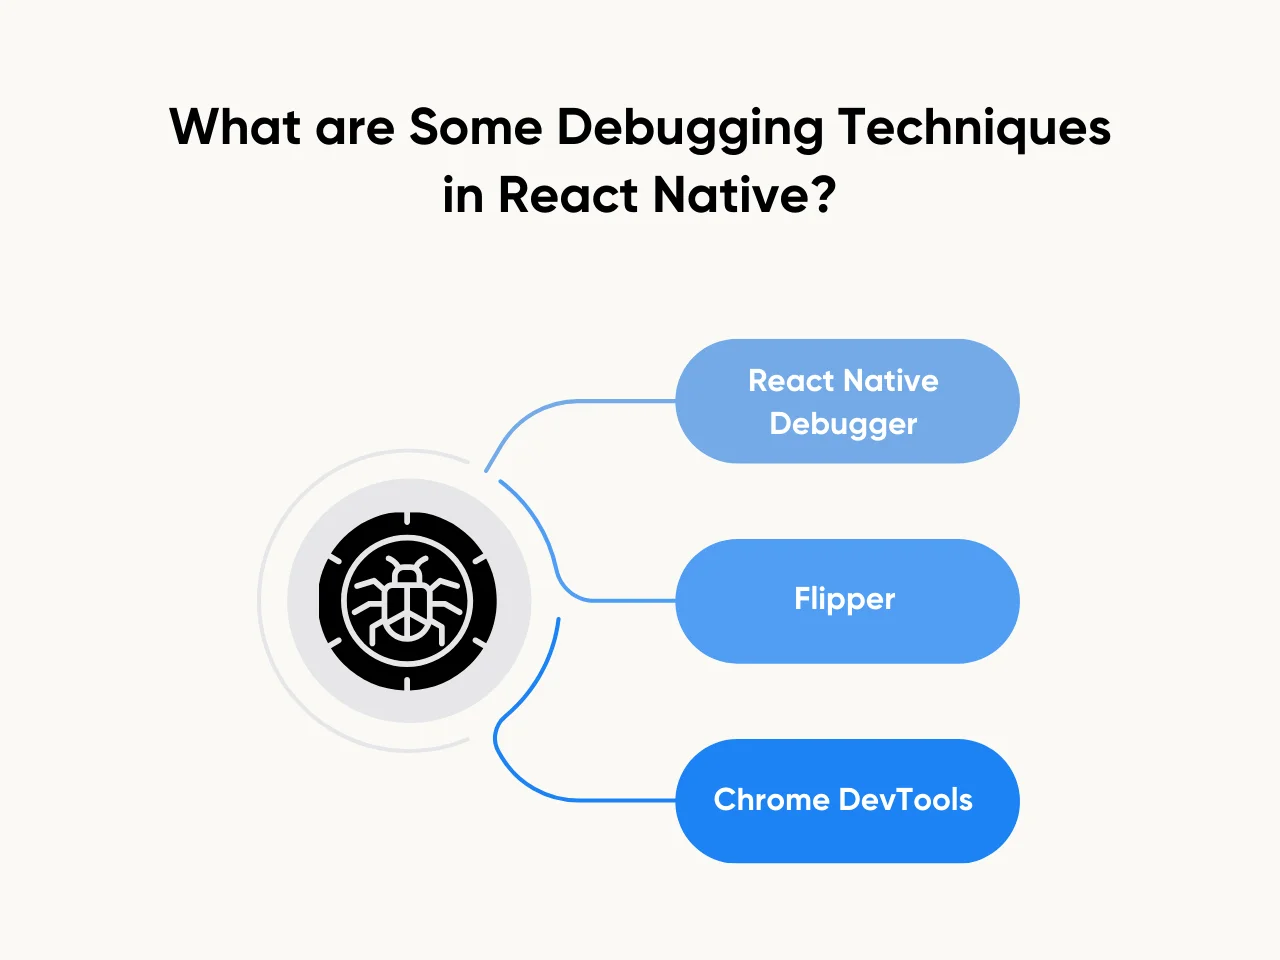
- React Native Debugger: This debugger integrates Redux DevTools and React DevTools, making it easy to inspect component props and state. It also allows developers to monitor Redux actions and state changes.
- Flipper: A debugging platform that provides features like logs, layout inspection, and network request monitoring. Flipper is highly versatile, offering plugins to extend its capabilities for React Native apps.
- Chrome DevTools: Enables developers to debug JavaScript code, inspect the DOM hierarchy, and track console logs in real-time. It is useful for identifying issues in component behavior or data flow.
React DevTools plays an important role in simplifying debugging tasks in React Native. It helps developers identify incorrect props or state values, examine the component tree structure, and dynamically adjust states or props to resolve rendering issues. Familiarity with React DevTools is essential for developers preparing for React Native interview questions to showcase their debugging expertise.
How do you test React Native applications?
React Native applications are tested using unit tests with Jest to validate components and functions, end-to-end tests with tools like Detox or Appium to simulate user interactions, and snapshot tests with Jest to detect unintended UI changes:
- Unit tests with Jest: Jest is widely used to validate individual components and functions, ensuring they deliver the expected outputs for given inputs.
- End-to-end testing with Detox or Appium: These tools simulate user interactions to test the entire application, verifying that it behaves correctly under real-world conditions.
- Snapshot testing with Jest: Captures the current rendering output of a component and compares it with stored snapshots to detect unintended changes in the UI.
Validating user interactions through unit tests, such as testing a button click in a login form, ensures features behave as expected while minimizing regression risks.
How do you handle errors in React Native?
This question comes up often in React Native interview questions. You may be asked about how to handle errors effectively in order to maintain a user-friendly application. you should provide a well-rounded answer around strategies for both localized and global error handling:
- Error boundaries for React components: React Native incorporates error boundaries to catch JavaScript errors occurring in child components during rendering. Error boundaries prevent these issues from crashing the entire app by isolating the problem to a specific component. When an error occurs, a fallback UI, such as an error message, can be displayed to the user.
- Global error handling using libraries: Libraries like Sentry and Bugsnag enable developers to monitor and manage application errors comprehensively. These tools capture runtime errors, log them for analysis, and provide detailed insights to help identify and fix bugs quickly.
For instance, implementing an error boundary in a user-facing application ensures that users see a fallback UI instead of an app crash. Meanwhile, integrating Sentry helps developers monitor errors in production, capturing stack traces and user actions leading up to the error.
Preparing for a React Native Interview
You should demonstrate your expertise during your React Native interview and showcase your projects, technical skills, and measurable achievements that highlight your capabilities. This includes discussing specific projects where you've successfully applied React Native principles, such as component-based architecture, state management, and native module integration.
How do you demonstrate your experience with React Native?
When answering React Native interview questions, showcase your technical expertise and demonstrate the impact of your work on React Native projects:
- Highlight specific projects: Discuss key projects you’ve worked on, emphasizing their complexity, purpose, and the unique challenges you addressed. Mention the frameworks and libraries you used to bring these projects to life.
- Emphasize cross-platform solutions you’ve implemented: Explain how you created reusable components and optimized functionality for both iOS and Android platforms. Highlight your ability to streamline development and maintain code consistency across devices.
- Share metrics that reflect your contributions: Quantifiable achievements demonstrate your effectiveness as a developer. For instance, discuss how your efforts reduced development time, improved performance, or enhanced user experience.
Here’s an example of a relevant case you might find useful when addressing React Native interview questions:
- I developed a food delivery app using React Native that leveraged 90% of the codebase across iOS and Android platforms. This approach reduced development time by 40%, ensuring quicker deployment and consistent user experience across devices.
What are the trade-offs of using React Native in an interview?
React Native interview questions often involve discussing their trade-offs. Highlight advantages like faster development with a shared codebase for iOS and Android but acknowledge limitations, such as lower performance for resource-heavy apps and dependency on third-party libraries, which can pose maintenance challenges. Providing this balanced perspective demonstrates your clear understanding of the framework.
You should highlight React Native's strengths, like faster development and code reusability, while also addressing its limitations in performance and flexibility. For example:
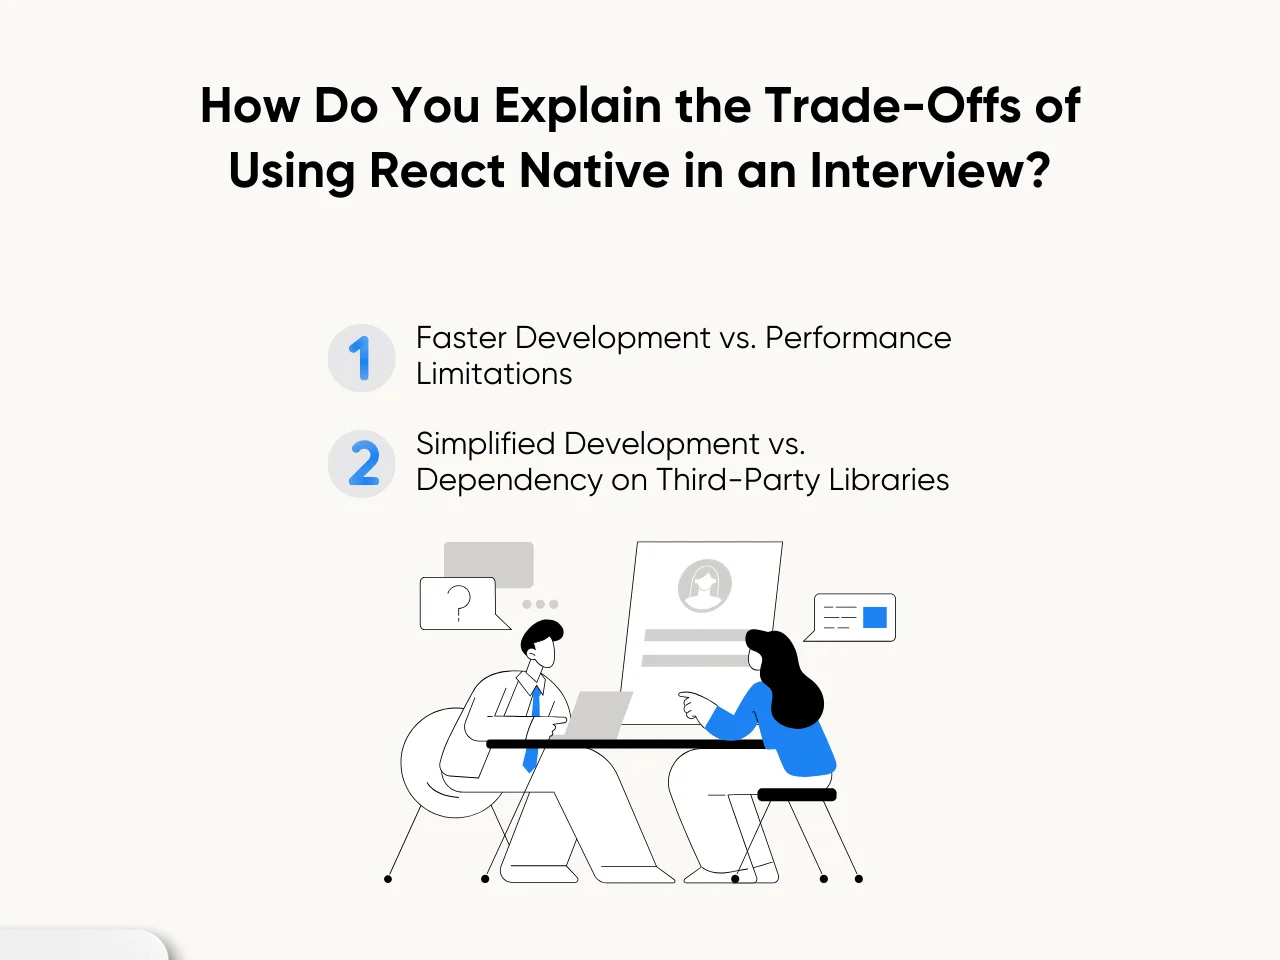
- Faster development vs. performance limitations: While React Native accelerates development with a single codebase for both iOS and Android, it may not match the performance of fully native apps, especially for computation-heavy or graphics-intensive tasks.
- Simplified development vs. dependency on third-party libraries: React Native simplifies the development process, but it often relies on third-party libraries, which can introduce maintenance challenges or compatibility issues.
You might explain why React Native was chosen for a Minimum Viable Product (MVP) instead of native development which is a scenario often discussed in React Native interview questions. Using React Native allows rapid prototyping and cost efficiency and ensures that the product reaches the market faster, even if some advanced features require later optimization.
Key Takeaway
Preparing for React Native interviews can feel like tackling a maze of technical concepts and best practices. From understanding how the React Native bridge works to demonstrating effective state management solutions, the right preparation ensures you’re ready to showcase your skills. Whether you're navigating frontend React interview questions or diving into advanced React Native topics, mastering these core areas equips you to make a lasting impression.
The complexity of React front end interview questions often lies in their practical nature. Employers want to see not just your theoretical knowledge but your ability to apply it to real-world problems. This requires a blend of technical expertise, problem-solving skills, and clear communication. You need to consider challenges like optimizing app performance or balancing cross-platform efficiency with native features. Each question is a chance to highlight your strategic thinking and hands-on experience.
Aloa partners with top development teams to ensure you’re always ahead of the curve. With vetted experts and a proven project management framework, we help businesses streamline their software solutions. Visit Aloa Blog to see how we can support your journey from preparing for React Native interview questions to project success.

.webp)


